Beginner Crochet Beanie 2 Ways: • Free Crochet Pattern | Scrap Yarn Series
Today I'm back with a super easy and quick project: a warm and cozy winter beanie!
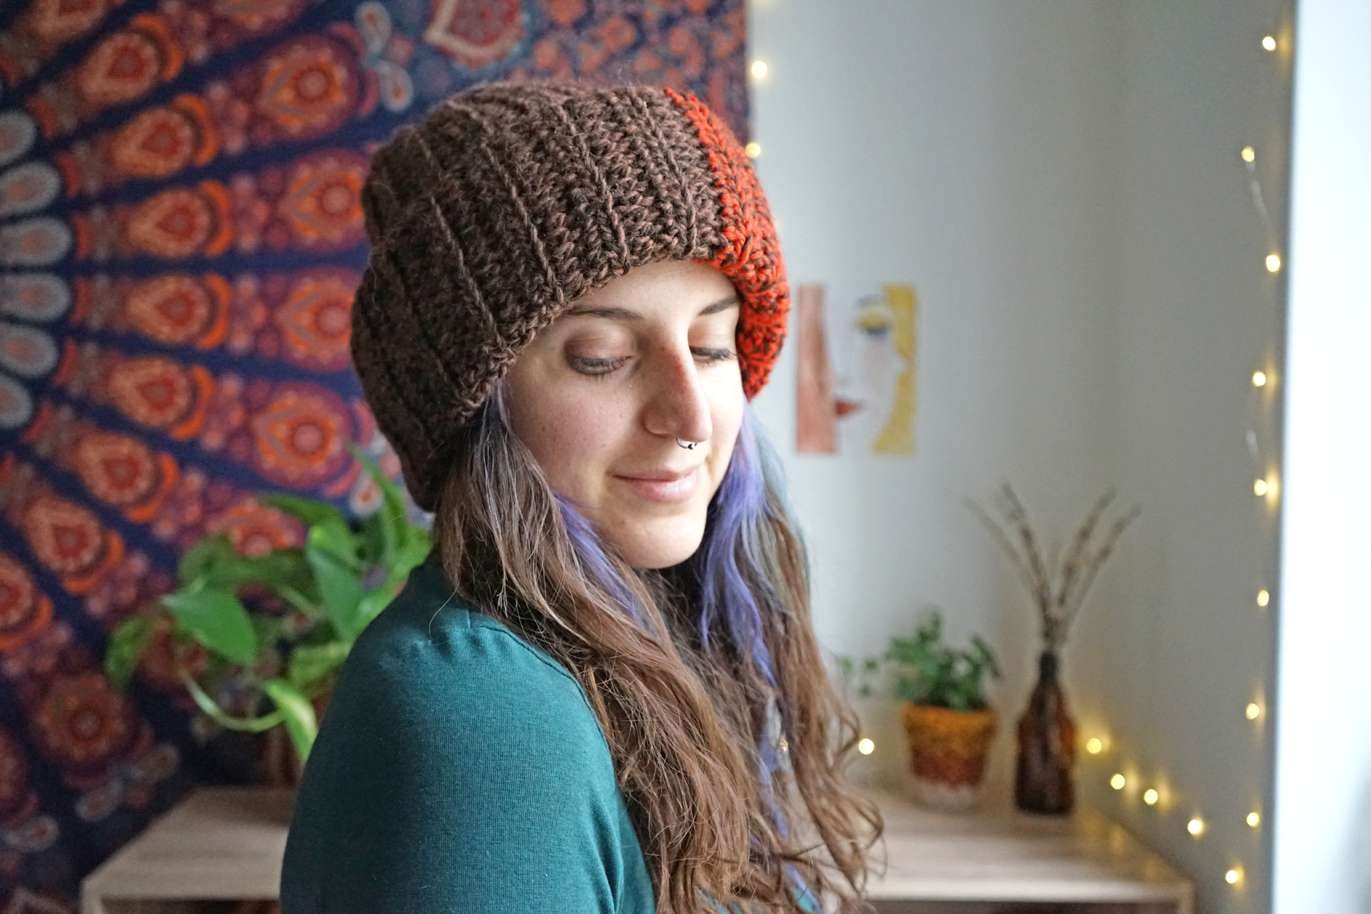
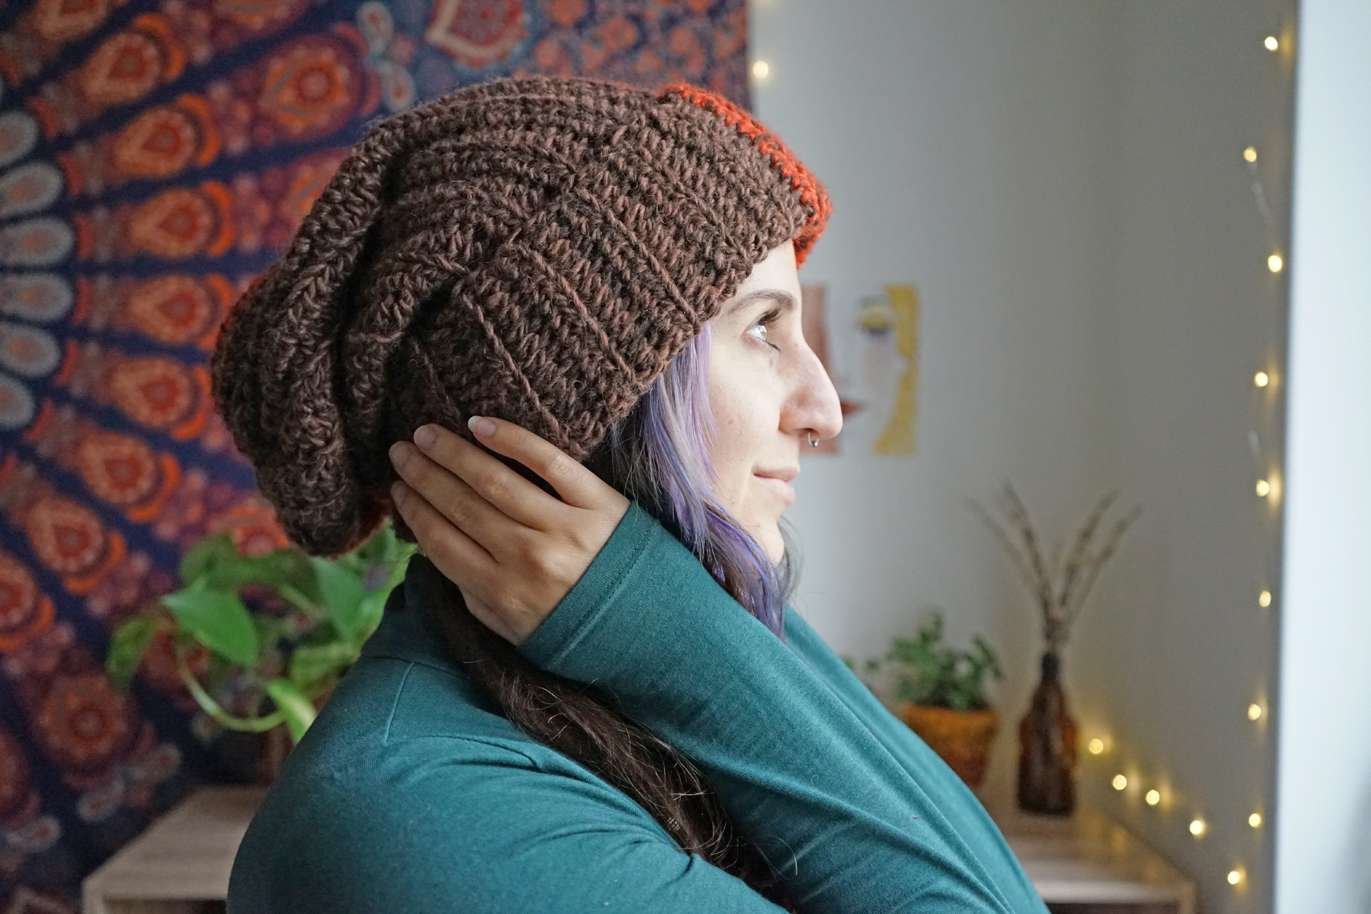
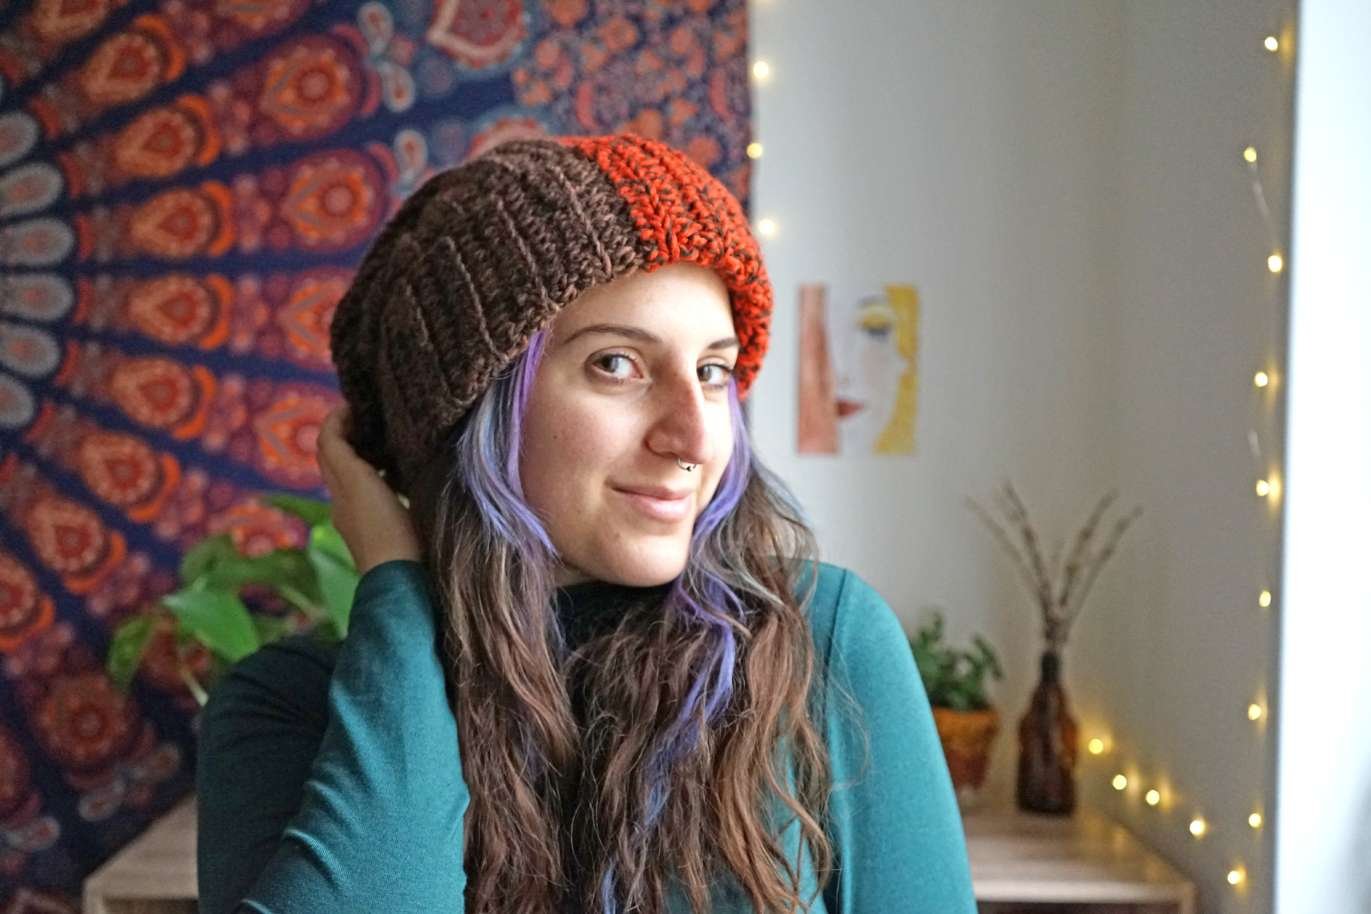
With one pattern, you'll be able to get 2 different beanies: a slouchy one by folding the edge once, or a ribbed one by folding the edge twice. It's such a versatile project everyone can make!

MATERIALS:
Category 4 Yarn (Aran or) or 2 strends of category 3 Yarn (Sport Yarn or DK) held together
I've used some scrap yarn, leftover from other projects
Hook 6 mm
Yarn needle
Scissors
Tape Measure
If you prefer the step-by-step video tutorial, you can watch it here!
Abbreviations:
Ch= Chain
St= Stitch
Sl St= Slip Stitch
Sl Kn= Slip Knot
SK= Skip
Hdc= Half Double Crochet
Hdc blo= Half Double Crochet Back Loop Ony
The beginning ch doesn't count as a stitch.
Row 1: Make a Sl Kn and chain a number of chains that corresponds to 16 inches (41 cm).
This is going to be the length of your beanie.
For teenagers or adults with a head circumference < 21 inches (52 cm), I recommend crocheting a number of chains that corresponds to 14 inches (35 cm), so the final result will look nicer and more proportionate.
I personally worked 60 chains to get a 16 inches long beginning chain.
Row 2: Sk the 1st ch, 1 hdc into the 2nd chain from hook and in each ch across.
Row 3: Ch 1, 1 hdcblo into each st across.
Repeat Row 3 until you get the right width for your head: the right measurement corresponds to:
Head Circumference - 3 or 4 inches (7/10 cm)
I worked 39 rows for a total of 17 inches (43 cm).
I ended up using 3 different scrap yarn and I'm really happy with the final 3-colours look!
Once you reach the right width, it's time to fold the panel wide wise and seam the side with a row of slip stitches.
Once your seam is done, ch 1 and cut a long piece of yarn.
Insert the yarn into the yarn needle and start sewing the left side of your panel, going in and out in a criss-cross motion to cinch up the top of the beanie.
As you keep sewing it and pull, you'll notice the side cinching up.
Keep doing that all around, until you reach the beginning.
Pull it tight and secure the closure by going back and forth in different directions passing through the middle of your "knot". This way you're sure your beanie will not unravel!
If you're not familiar with these techniques, I recommend you watch the video tutorial for a better understanding of the procedures.
Weave in all the ends and flip the beanie inside out.
Fold the edge once or twice according to your preference and.....Voilà!
Your beanie is ready!

I hope you liked my tutorial!
You can find other interesting free patterns on my blog, such as my Boho Plant Pot Cover


or my Yoga Crop Top.
